Our Updates
Blogs
Blogs on Prescriptive AI & Plant Reliability
Process Anomalies to Carbon Penalties: The Hidden Energy Story Inside European Cement Plants
In the United States, unplanned downtime costs manufacturers over $1 trillion annually, while energy accounts for 20–40% of operating costs...
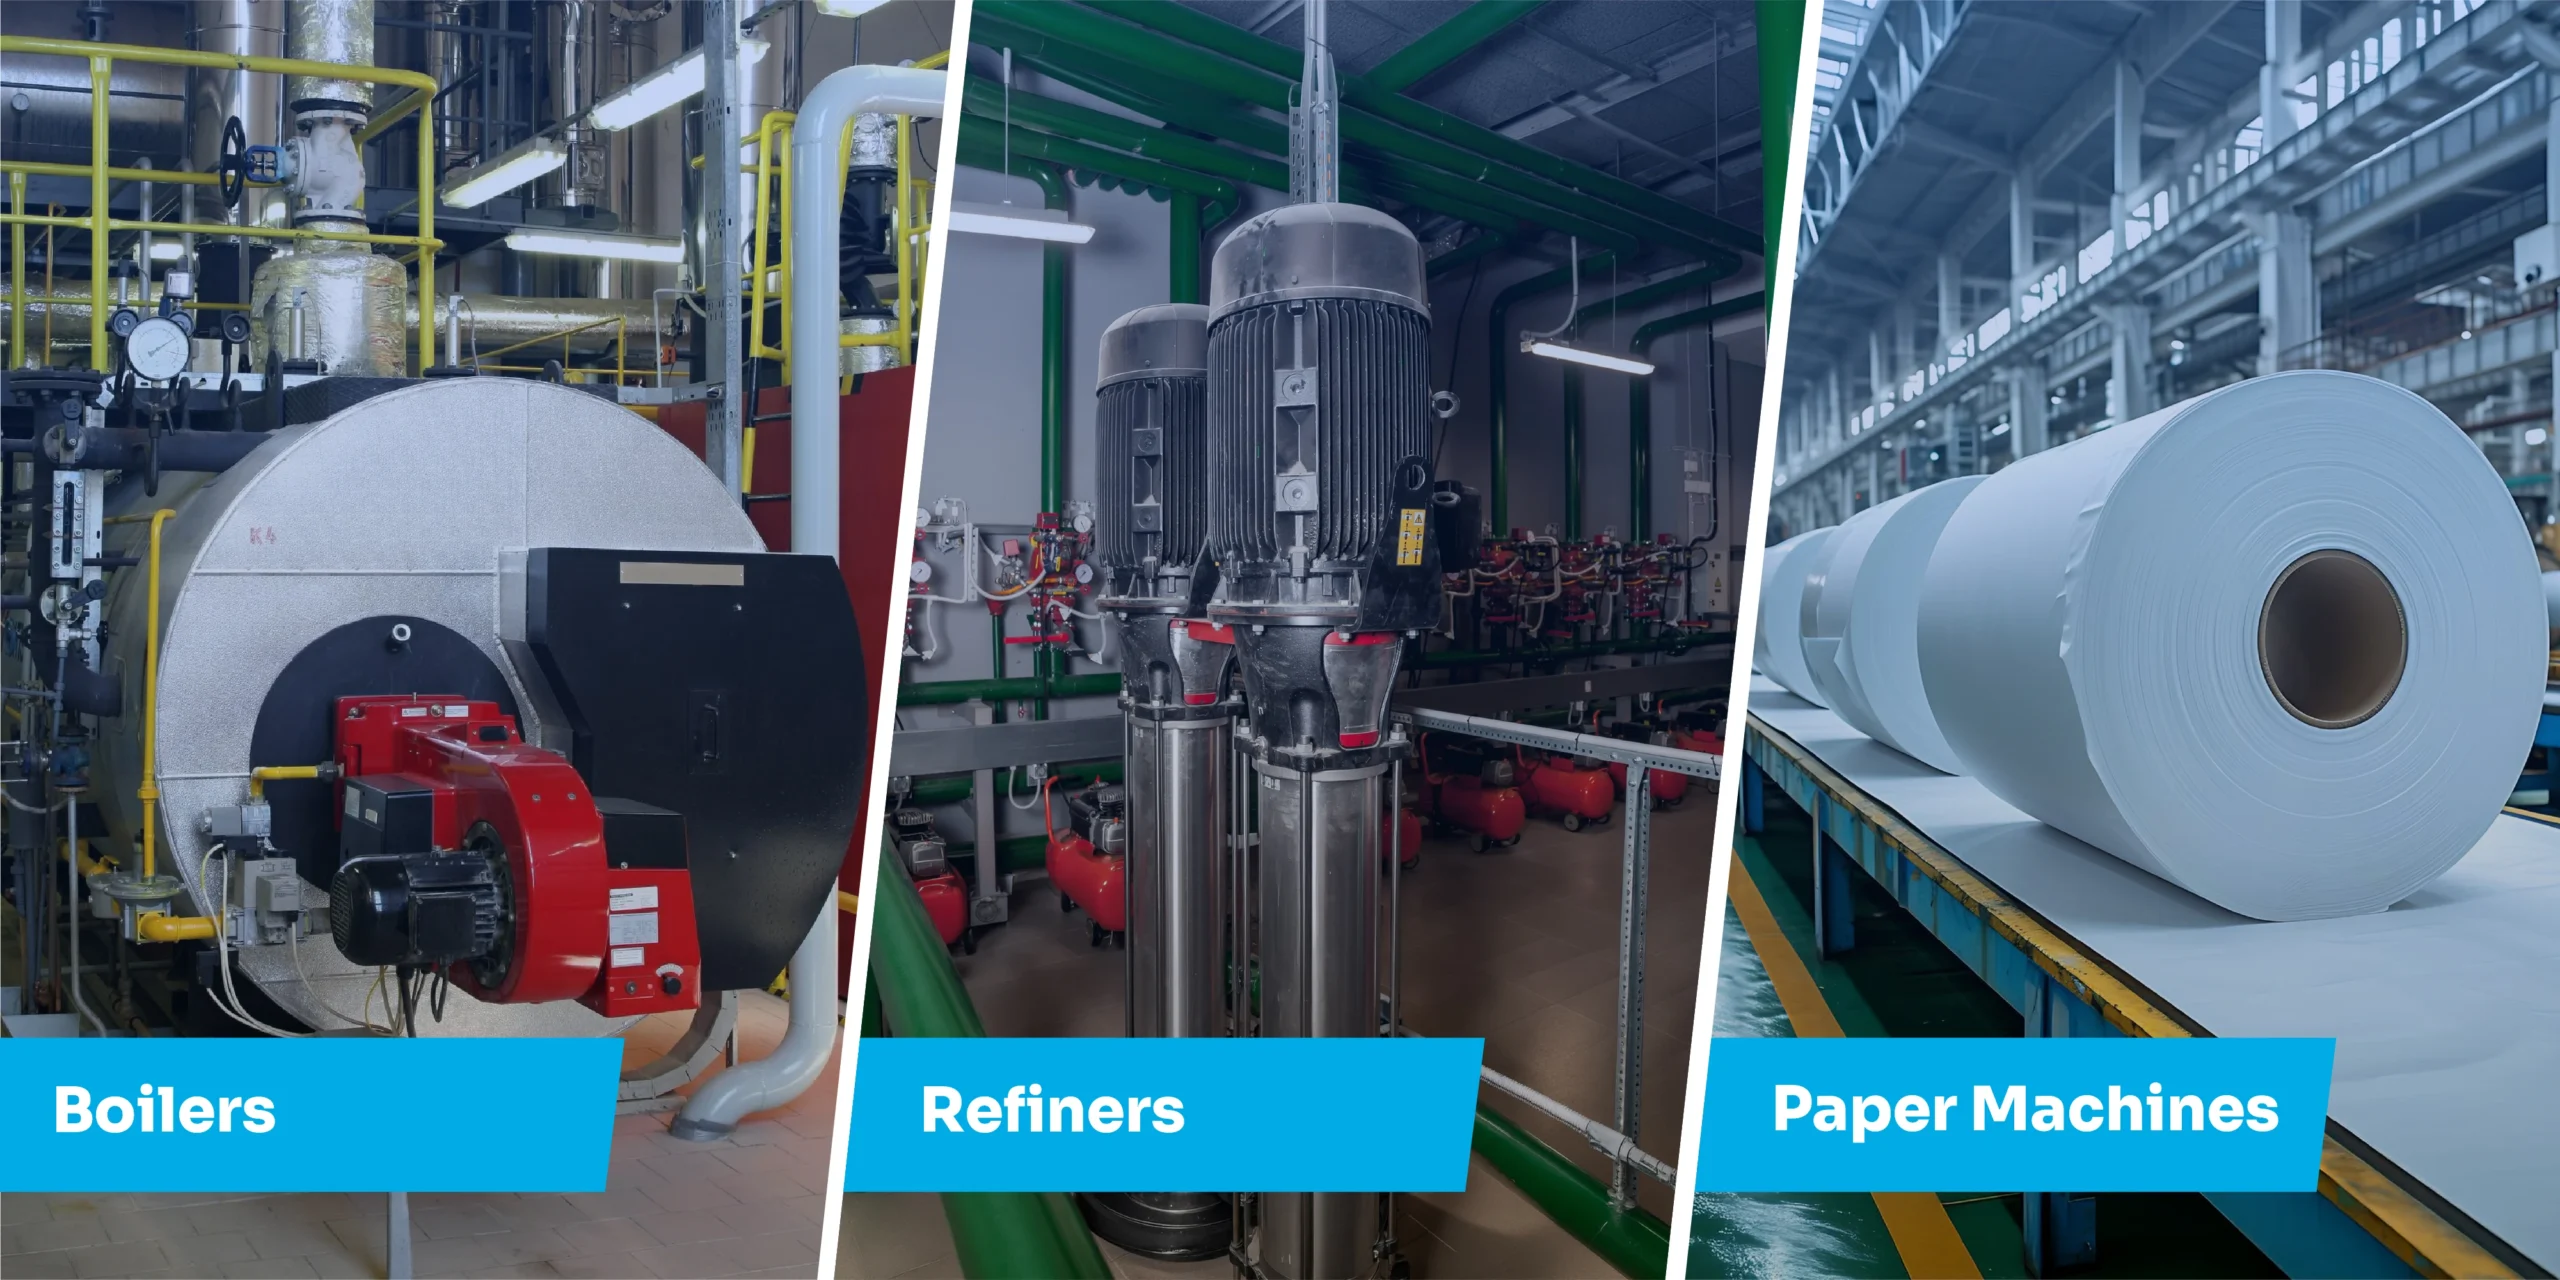
Read MorePrescriptive AI for Recovery Boilers, Refiners & Paper Machines
Sustainable pulp and paper manufacturing is no longer a brand statement — it is a boardroom mandate. Regulators, brand owners,...
Read MorePrescriptive AI for Low-Speed, Hygiene-Critical Assets in Pharma and F&B: Beyond Traditional Condition Monitoring
Prescriptive AI for Low-Speed, Hygiene-Critical Assets in Pharma and F&B : Beyond Traditional Condition Monitoring Why auxiliary equipment like mixers,...
Read MoreWhen the Crane Goes Down, Everything Stops
When the Crane Goes Down, Everything Stops. Why EOT Crane Reliability Is a Strategic Operations Problem — and How PlantOS™...
Read MoreEnergy Efficiency, Innovation & Process Reliability:
Energy Efficiency, Innovation & Process Reliability: The Unseen Trio Driving Cement’s Net Zero Journey in Europe Read Time: 8–9 minutes...
Read MorePlant Reliability Beyond Mechanical Faults
Plant Reliability Beyond Mechanical Faults How Process & Electrical Faults Drain Throughput, Energy, and Margin Before a Single Alarm Fires...
Read MorePrescriptive AI for Pumps, Compressors and Agitators
Prescriptive AI for Pumps, Compressors and Agitators Closing the Outcomes Gap in Chemicals and Fertilizer Plants Read Time: 8–9 minutes...
Read MorePrescriptive AI for Continuous Casting Cranes
Prescriptive AI for Continuous Casting Cranes Enabling Semi-Autonomous Steel Mills Read Time: 8–9 minutes | Author – Kalyan Meduri Key...
Read MoreThe Energy Problem Plants Are Solving Wrong
Most industrial energy reduction programmes start in the wrong place. They audit equipment specifications. They upgrade motors. They install variable...
Read MoreBeyond the Trendline: How PlantOSTM Prescriptive AI Solves the VRM “Discovery Gap”
In the heavy industrial sectors of EMEA, specifically within cement manufacturing, a dangerous “Discovery Gap” has emerged. While most plant...
Read MoreAI4ProductionOutcomes: Closing the Industrial AI Outcome Gap with PlantOS™ 99% Trust Loop
For years, industrial leaders have poured money into dashboards and monitoring tools promising better visibility. But when a critical machine...
Read MoreThe AI Impact Summit’s Biggest Blind Spot – Who Validates AI Success
As world leaders gather in New Delhi for the India–AI Impact Summit 2026, the conversation remains dangerously fixated on foundation...
Read MoreThe Four Pillars of Industrial Reliability
In heavy industries today, reliability is no longer just “fewer breakdowns.” It is the combined effect of asset reliability, plant...
Read MoreWhat Is Prescriptive Maintenance and Why It’s the Future of Industrial Reliability?
As industries continue to evolve with digital transformation, traditional maintenance practices are being replaced by intelligent, AI-driven systems. One of...
Read MoreCondition-Based Maintenance vs. Prescriptive Maintenance: Key Differences Explained
As industrial operations become more complex and cost pressures increase, maintenance strategies are evolving beyond reactive and time-based approaches. Two...
Read MoreWhy Cement Gearboxes Fail More Often in Q4
Cement gearbox failures spike in Q4 due to sustained overloads, thermal stress, lubrication breakdown, and deferred maintenance during peak U.S....
Read MorePrescriptive vs Predictive Maintenance
Prescriptive vs predictive maintenance refers to two different industrial maintenance strategies. Predictive maintenance uses condition monitoring and predictive analytics to...
Read MoreThe U.S. Steel Plant Reliability Crisis
This blog breaks down what is driving the steel reliability squeeze, which failure modes matter most, and how a 99%...
Read MoreIndustrial AI in Saudi Arabia: Securing Vision 2030 Asset Reliability with The 99% Trust Loop
The realization of Saudi Vision 2030 hinges on operational excellence across its giga-projects and manufacturing sectors. Achieving this requires moving...
Read MorePrescriptive Maintenance + Energy Efficiency: A Practical Path to Stable Industrial Operations
In the United States, unplanned downtime costs manufacturers over $1 trillion annually, while energy accounts for 20–40% of operating costs...
Read MoreDowntime Is Draining Your EBITDA: The Real Role of Industrial Energy Efficiency
Downtime rarely starts with a breakdown. It often begins quietly—through rising energy consumption, unstable processes, and small inefficiencies that go...
Read MoreWhy 95% of GenAI Projects Failed and How Prescriptive AI and the 99% Trust Loop Are Changing Manufacturing
In 2025, MIT reported that 95% of GenAI projects failed to move beyond pilot stages, an industry-wide sign that insight...
Read MorePrescriptive AI: The Future of Smart Manufacturing and Reliable Semi‑Autonomous Plant Operations
In a world where operational reliability defines competitiveness, manufacturing leaders are realizing that reactive and even predictive maintenance aren’t enough.
Read MoreUser-Validated Production Outcomes: Delivering Reliability, Energy Efficiency, and RoI in Real-World
Industrial production must go beyond traditional health monitoring to realize tangible, user-validated business outcomes. AI is enabling manufacturers to achieve...
Read MorePredictive Maintenance: A Comprehensive Guide 2026
Predictive maintenance is an advanced strategy used to ensure that equipment remains in optimal condition, avoiding unplanned downtime and costly...
Read MoreCondition-Based Maintenance vs. Predictive Maintenance: A Comprehensive Comparison
In the ever-evolving world of industrial operations, maintenance strategies play a crucial role in ensuring equipment reliability and operational efficiency....
Read MoreFault Detection & Diagnostics for Industrial Operations : A Comprehensive Guide
In the realm of industrial operations and engineering, maintaining optimal performance and ensuring the reliability of equipment is critical. Fault...
Read MoreUnderstanding Types of Vibration and Measurement in Predictive Maintenance
Understanding Types of Vibration and Measurement in Predictive Maintenance In the realm of industrial operations, understanding vibrations is crucial for...
Read MoreAI Predictive Maintenance: Revolutionizing Industrial Efficiency
AI Predictive Maintenance: Revolutionizing Industrial Efficiency Table of Contents Introduction Overview of AI Predictive Maintenance in Modern Manufacturing Understanding AI...
Read MorePredictive Maintenance in Cement Industry: Driving Plant Reliability Through Focused Applications
Plant reliability is evolving into an important focus area for production and operation heads in both discrete and process manufacturing...
Read MoreUnderstanding Machine Health Score and its Importance in Asset Reliability
Machine health is the underlying propeller for asset reliability in the manufacturing industry. Machines that are maintained in optimal conditions...
Read MoreAsset Reliability Transformation: The Maintenance Perspective
Persistent volatility in global trade and evolving geo-economic climate have propelled even the more conservative businesses towards digitalization and asset...
Read MorePredictive Maintenance: Is it the best approach for Greenfield or Brownfield projects?
Digital transformation in the industry entails the creation of connected enterprises wherein machines and people can seamlessly communicate and access...
Read MoreWhy Predictive Maintenance is gaining adoption in the Paper Industry
The pulp and paper industry has been steadily experiencing a decline in demand for graphic papers used for newsprint, printing,...
Read MoreDecoding plant reliability in manufacturing and a process to reach there.
Process manufacturers typically operate in data-rich environments and know their plants inside out. While they know their assets and how...
Read MoreWhy the move from condition monitoring to predictive maintenance is the next big thing in the cement industry
The increasing urbanization in the world has consistently put demand pressure on the cement industry. Consequently, the industry has streamlined...
Read MoreOptimizing machine health with Condition Monitoring
Industry 4.0 aims to bring operational excellence by introducing the Industrial Internet of Things (IIoT) to the industries and factories....
Read MorePredictive Maintenance & IoT Impact on Mining
The mining industry is one of the oldest & most hazardous commercial sectors where the use and implementation of modern...
Read MoreHow to choose a maintenance solution for your plant in 2022?
Revolutions are synonymous with disruptions. Industry 4.0 is nothing different. It demands new and advanced technologies for manufacturing plant maintenance...
Read MoreWhy are cement plants the perfect candidates for Predictive Maintenance?
This article discusses Predictive Maintenance, a new age approach for plant maintenance, and why an IoT-led Predictive Maintenance approach can...
Read MoreDecoding IT/OT Convergence: A Guide on Understanding IT and OT
As IoT grows synonymous with digital transformation & advancements in manufacturing, it has also led to a wave of change...
Read MorePredictive Maintenance as a Service for the Steel Industry.
The steel industry plays an essential role in developing the economic standing of any country. Since steel is a necessary...
Read MorePredictive Maintenance as a Service: A game-changer for Manufacturing.
Manufacturing encompasses a diverse and wide array of processes, industries, and raw materials. Yet all manufacturers everywhere share a common...
Read MorePredictive Maintenance as a Service for Cement Industry: An Overview
The cement manufacturing industry is one of the oldest and most critical manufacturing industries for the global civilization. It has...
Read MoreComplying with ATEX standards in hazardous environments. Why does it matter?
Manufacturing facilities are no less than war zones – they have difficult workplace conditions like explosive atmosphere, flammable & toxic...
Read MoreImpact of Industrial Analytics in Fostering Manufacturing Transformation
If data is oil, manufacturing is the brightest lamp powered from it. Manufacturing is expected to generate 1812 Petabytes (PB)...
Read MoreTop Manufacturing Trends of 2022
The last two years have been nothing less than a vigorous shake-up to manufacturing. From kickstarting an industry-wide awakening to...
Read MoreIIoT-based predictive maintenance – A mission critical need for manufacturing
Industry 4.0 continues to gain momentum across every industrial and manufacturing segment. This revolution is built upon three primary technologies:...
Read MoreDigital Transformation – The Future of Predictive Maintenance
Digital Transformation or digitization is no longer just a hype or a concept. It has found a pertinent place in...
Read MoreUnderstanding Predictive Maintenance As a Service
Asset maintenance in discreet and process manufacturing is a key priority – one that can have a multiplying effect on...
Read MoreUnderstanding Digital Reliability
Manufacturing industries manage complex production environments where even a single hour of downtime caused by unreliable or unavailable assets can...
Read MoreUnderstanding Asset Optimization in Manufacturing
Mission-critical assets in manufacturing setups can make or break an entire value chain. An unmitigated asset breakdown or productivity decline...
Read MoreUnderstanding Machine Diagnostics, Remote Monitoring and Online Condition-Based Monitoring
Managing machine health and ensuring sustainable asset performance is an important control objective in manufacturing environments. In both discreet and...
Read More

